


Adding Rotations to a Two-Tiled Object Base
 Discord
 Rotations
Adding Rotations: 1-Tiled Object: Changing 2 Rotations to 4 Rotations by David Goss
 Download and extract the Last Transmogrifier 2.1.2
- Clone Object. Choose Pinegulcher End Table
 8
8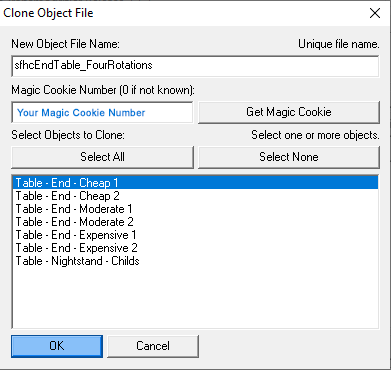
- Export One Zoom, All Channels.

- These are the Sprites (files) that are exported.
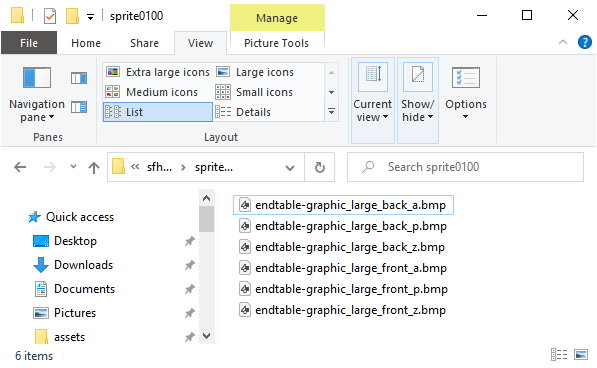
- Rename Sprites containing the word "front" by replacing "front" to "se"
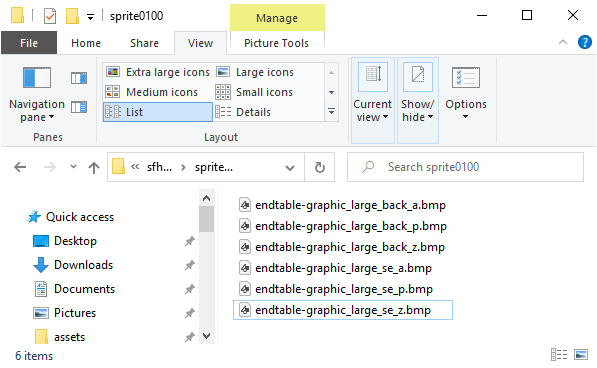
- Rename Sprites by replacing "back" to "ne"

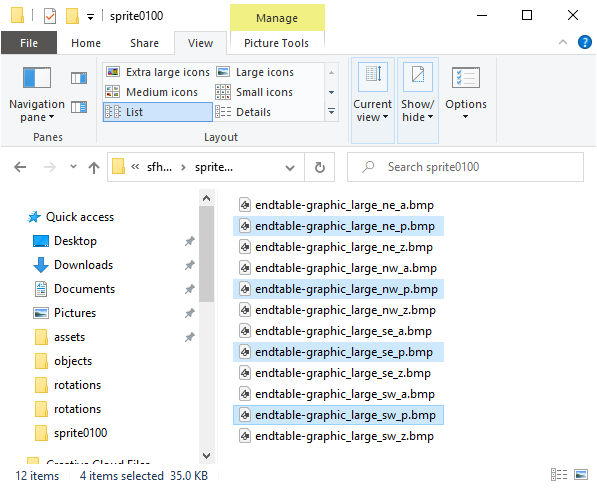
- Open all the "ne" Sprites in your graphics program.
Mirror them.
Save "ne" as "nw"
Save "se" as "sw"

- Open Sprites Ending in _p
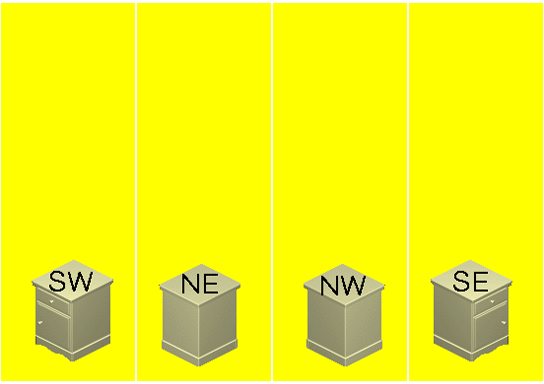
- (optional) Write SW NE NW SE on corresponding sprites
- Open the .xml file with a text editor.
- Scan down the file and look for the first <drawgroups> (plural) tag. In this file, line 129.
- Find the first <drawgroupitem
Change the spritenum="4" to spritenum="8".
Make sure the flags="0" (ZERO) everytime you do change these drawgroupitem sections

- All 12 <drawgroupitem sections spritenum must be changed in this number order:
8, 9, 10, 11, 4, 5, 6, 7, 0, 1, 2, 3
Make sure the flags="0" as you go. (Mirrored flags="1")
(Be careful if you use a search and replace. The are other tags with flags="1" in them at the end such as shadowflags="1"). - View Drawgroups XML after these changes.
- Go to <sprites> section.
In the <sprite section, locate framecount="6", which indicates 6 sprites will be imported.
Since we had 2 rotations to each zoom, double the number.
Change "6" to "12"

- Now go to the first <spriteframe> group.
index="0" indicates it's the first one.
In the filename="" Change the "back" to "nw" in these three file names.

- The second <spriteframe> group is index="1". That will also stay the same.
Change the "front" to "ne" in each of these three file names.

- Copy the above 2 <spriteframe> sections from <spriteframe to </spriteframe>. You can recognize them by their index number 0 and 1.
- Paste a copy below the 2nd <spriteframe>
Be sure when you paste it in, you skip a line in between the sections and the <spriteframe> tag should be positioned in column 13. Sometimes having tags out of place can cause some problems. - You used the pattern 8,9,10,11,4,5,6,7,0,1,2,3 for the drawgroups section (step 12)
Remember the indexes 0 ,1, 2, 3 should be nw, ne, se, sw in order to make the images match up with the right direction.
The way I remember that is north before south and we-ew (west east then east west).
nw ne se sw - Use the above to go back and double check your file
- Now we have to reference the smaller sprites.
NOTE: If you export all zooms - all channels then each zoom looks like the first <spriteframe> section. When you don't export the smaller zooms, a proxy number is used. - Go down to the proxy <spriteframe> after the ones that contain filenames and find index="2". Change to index="4". Since this is the first medium zoom section, this is the "nw" image. The "nw" image
was defined in index 0 so proxy="0" is correct. You don't
need to change it.
Go to the next section change index="3" to index="5". Again, it's proxy image is already set to the correct one.

- Copy these two <spriteframe> sections and paste directly below them. Remember to keep the spacing uniform, as it was before or transmogrifier will not read it.
- Change the index="#" in these two new <spriteframe> sections to 6 and 7 respectively.
- Repeat this process for the 3rd zoom by changing the index numbers to 8 and 9
- Copy and paste the two <spriteframe> with zoom="2"
- Repeat this process for the 3rd zoom by changing the index numbers to 10 and 11
- Now go back up to where the proxy= spriteframes start, just below the ones with the image filnames.
- Change the proxy numbers in this order to be 0, 1, 2, 3 for the zoom="1" and again for the zoom="2" spriteframes
- View the sprites xml.
- Save the xml
- Import your object back into transmogrifier.
- Check each zoom and each rotation to make sure they look right. I suggest going from one rotation and checking each zoom to make sure they have the same direction on it. If they don't, go make the corrections in the xml then import and check again.
- If you get any errors on the import, chack to make sure all the tags match up, beginning, end, and positioning. Make sure the spaces between sections are in the same format. Also make sure you didn't skip section. I haven't had one yet to error where the problem wasn't a typo or something simple error.
- Multi-tiled objects - you can do these pretty much the same way, there is multiple parts to each section(depending on how many tiles there are). Also before you attempt to do one of these, study how the <drawgroups> section is layed out(I would suggest first looking at a 2 tiled painting, then maybe a three tiled sofa). It is a little tricky at first because it combines each tile in each section. If you look at one you will see what I am talking about. As long as you are aware of that then you should be able to get it. On my first one I had went through and made all the changes to the drawgroups as I explained above (8,9,10,11,4,5,...) but when I got through, there were more drawgroup sections, but I was out of numbers. So you will have to study the objects carefully.
- View the complete xml.